How to start your Horse Drawing
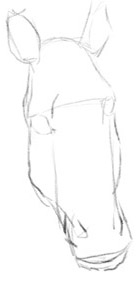
Watch the how to draw a horse video at the bottom of this page for the full step by step walkthrough of this drawing. Use the notes provided to go along with the video for further explanation.To begin with you want to start to define the major areas of the head like the nose, mouth ears and eyes of the horse along with the general shape of the head.
At this stage keep your lines loose and light so that if you make any mistakes they will be easy to erase later.

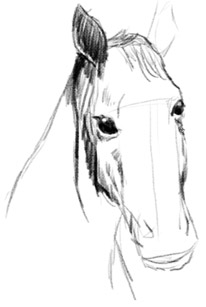
Next you will want to start defining some of the shapes, but again, remember to keep your pencil loose on the page. The goal here is not to get things perfect at this point. Keep your strokes light and quick as you begin to define the major features.
When I do my drawings I like to try and keep an overall level of detail that is consistent across the entire image rather than spend time detailing out one entire section of the drawing before moving on. How you approach your drawing is up to you, so experiment with both ways of working and seeing what works for you.

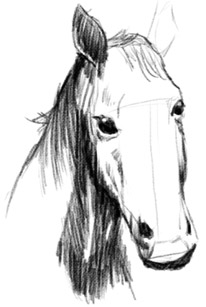
Notice now that the details are really starting to show. If you are just beginning to learn how to draw a horse I highly recommend that you take time to get a few pictures for reference that you can work from.
Another useful tip if you are just starting out is to use a ruler to measure the distance of some of the key points on the horse's head.
Doing measurements for such areas as the width and height of the head, the distance between the eyes, and the height of the ear can really help you get the horse proportions right in your drawing.
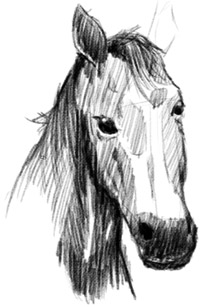
Here you can see that our horse is almost finished. The hair on the mane has been defined and shadows have been added to hint at some of the underlying bone and muscle structure.

Notice that the overall level of shading in this step is consistent (except for one of the ears).
I find that working on the shading with an overall approach really helps to keep your shading even over the entire drawing.

No comments:
Post a Comment